So I set to with a pile of scrap paper and fiddled around until I got a result I was happy with. It may not be the authentic or original thing, but it works, and it's fun to make and even more fun to receive, so I'm going to tell you how I made it. But first, a look at the card.
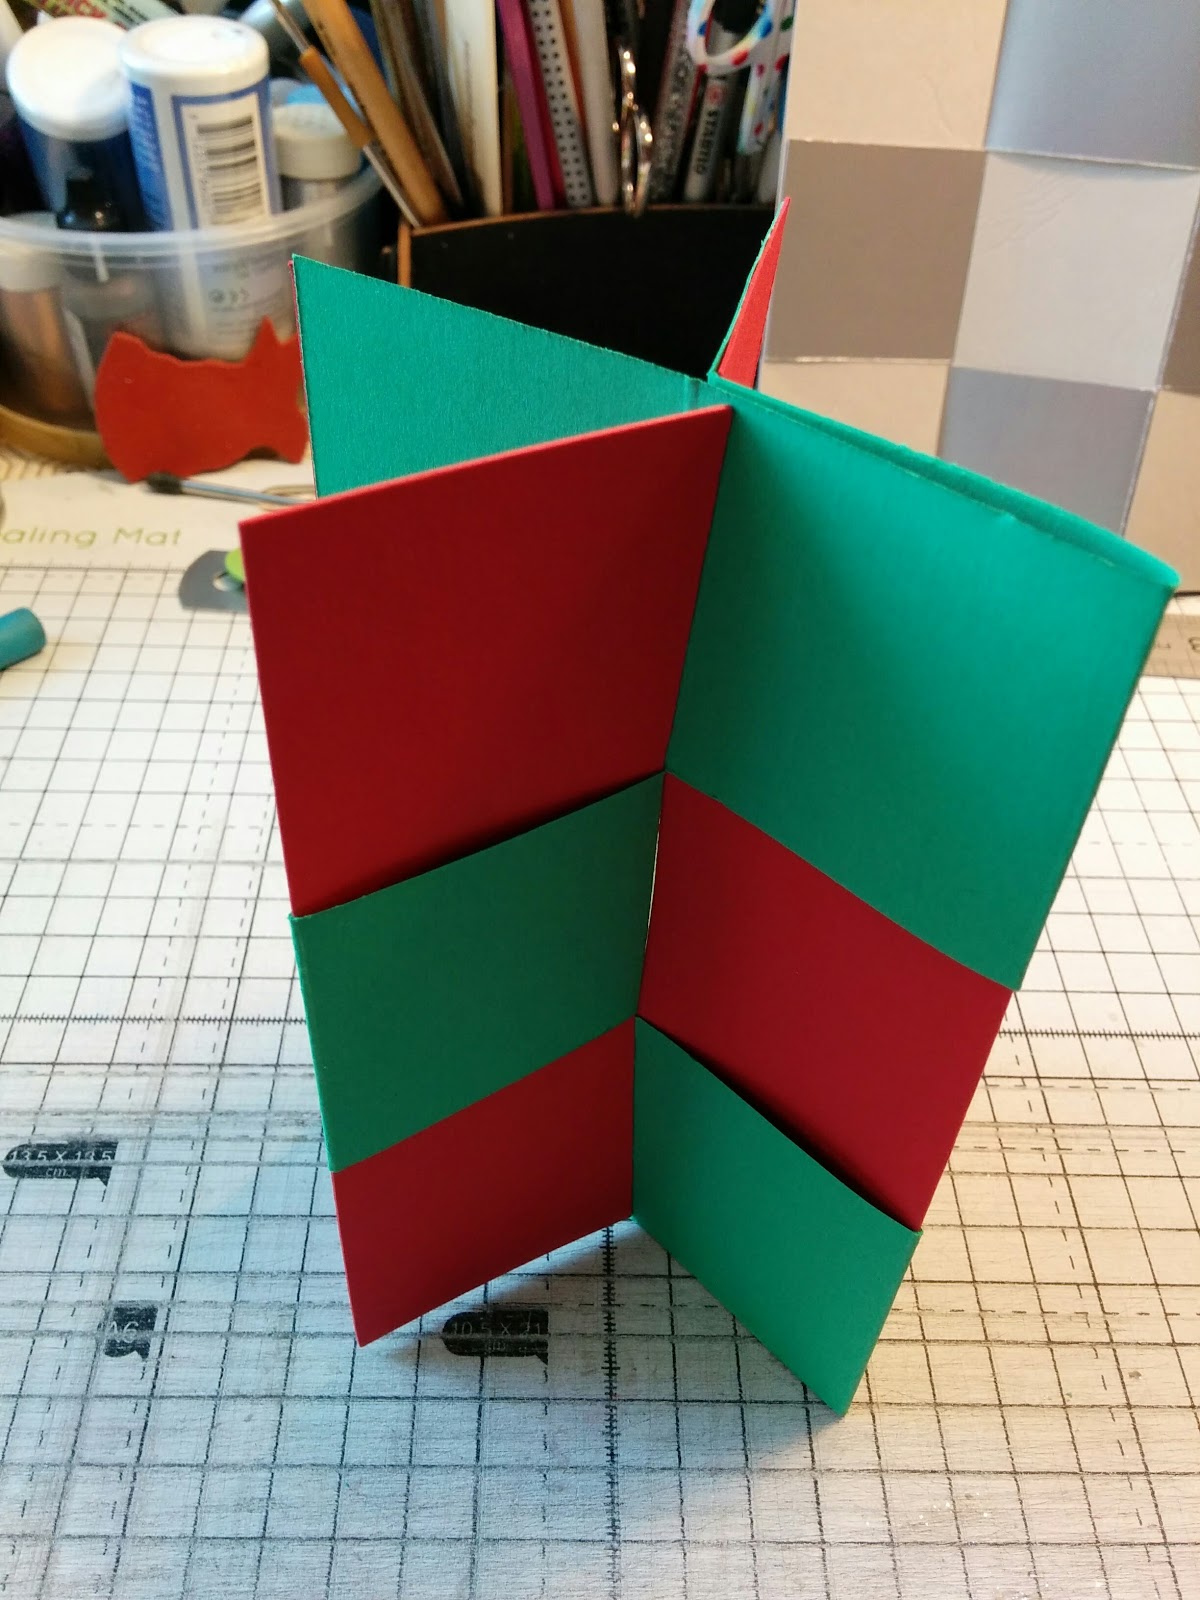
It can be this way out:

or this way out

but whichever way out it is, when you hold it closed and then reopen it from the spine side, a fresh set of surfaces is exposed

... where you can write a hidden message. And when I reached that point, I remembered that is it called a "Hidden message card" and if you search YouTube there are lots of videos of how they are made and how they work - and lots of variations of them too. Here is how to make my variation.
Take two contrasting colours of card. Cut one into 3 strips, 20cm x 5cm and the other into 4 strips, 15cm x 5cm

Score the longer strips at 5, 10 and 15 cm

Arrange the long strips horizontally with the score lines aligned, and place the first short strip under, over and under them as if you were starting to weave it. Hold the panels in place with a dab of glue.

Now continue to weave in the short strips, but DO NOT glue the second and third in place.

Decorate the squares as you wish, making sure none of the decoration overlaps the edges of any squares and keeping everything fairly flat.


Now fold in half and re-open along the spine to reveal the hidden surfaces, where you can write your message.
I've chosen to decorate it with yet another set of embellishments, since naturally I want to keep my secret messages secret from all of YOU!!!
Don't forget to turn your card "inside out" and reopen it along the new spine, where you will find ANOTHER set of undecorated surfaces.
No, I'm not sure how it all works, I was always taught that a piece of paper has two sides, and by the time you've finished decorating one of these cards you'll be positive you've decorated several more surfaces than you started with!
5 comments:
Fabulous card and what a wonderful clear tutorial. Thank you for sharing. Cara x
Oh my gosh, Jane! This is so clever! You've introduced me to a new type of card that I just have to check out for SAS4Kids. Thanks so much for sharing this with us at Jingle Belles. :)
This is so clever Jane. I've never done this. Your instructions are really clear. Thanks for sharing. Barbxx
That is such as awesome design ... thanks for the step-by-step instructions ... we're thrilled you're joining us at Jingle Belles.
oh my gosh, that is a COOL design & you've explained it so well even *I* think i might be able to pull off a "secret message card"! thanks for coming along to "shake, rattle and roll" with us at JINGLE BELLES! ♥
Post a Comment